Hard PVC Configuration
To configure a hard PVC, you can specify a configuration file that describes the PVCs, or you can use a PVx demand object. To see some examples of demand configuration, open the ATM example project in Riverbed Modeler.
Figure 86: Configuring a Hard PVX
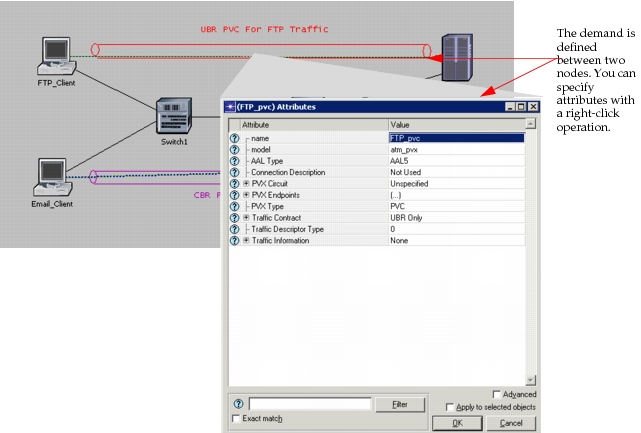
Configuring a Hard PVC using the atm_pvx Connection Object
Configuring a hard PVC is similar to configuring a soft PVC, but you will use the atm_pvx connection object. You must also configure a static path on the hard PVC, as described in Procedure 11.
Procedure 11: Configuring a Hard PVx
-
Open the object palette.
-
Select the Demand model atm_pvx. Drag it into the project editor.
-
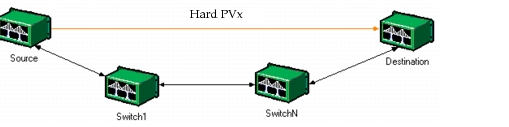
Draw the connection between the two end nodes. Repeat this step for each hard PVx. Figure 87 shows ATM switches connected with a hard PVC.
Figure 87: Hard PVx Configuration
-
Right-click on the PVx and select Edit Attributes.
4.1 Expand the PVX Circuit attribute, and create a number of rows equal to the number of hops in the path.
**Figure 88: Configure Hard PVx Circuits** 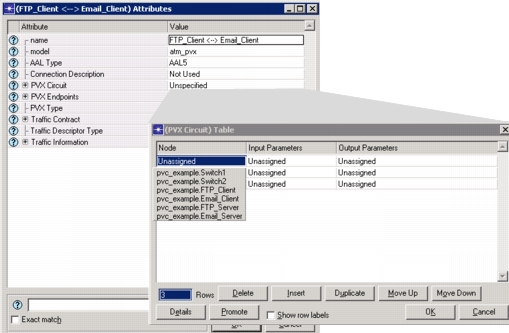4.2 Select the node name, from the drop-down menu, that is the origin of the PVx.
4.3 Configure the Input Parameters and Output Parameters.
- You must first determine the ingress port and the egress port for each hop in the PVx. Do this by right-clicking on the link and selecting Edit Ports. Note the ingress and egress ports for each hop. In the PVX Circuit table, choose Edit...for Input Parameters and Output Parameters for each hop. Set the port information. If you plan to use DES, set the VPI and VCI values. These values are optional for Flow Analysis.
- Unless stitching is configured, set the Input Parameters at the originating node to “PVX Origin.” Set the Output Parameters on the last node to “PVX Termination.”
4.4 Click OK to save settings.
-
Click OK to close the Edit Attributes dialog box.
End of Procedure 11