Adding Feature Data to a GDB Terrain
The documentation for creating props focuses on adding props from terrain data files that already contain feature data. However, what if you do not have shapefiles or other feature data for your terrain? How would you add a SpeedTree or a building? The MÄK Terrain Database Tool, which is included with 3D Network Visualizer, lets you add feature data to a GDB terrain. You can then extract these features and map them to models as described in this manual.
Note: The MÄK Terrain Database Tool requires a license from VT MÄK; it cannot be run with Riverbed licenses. If you do not have the required MÄK license, you will be unable to do this tutorial.
This tutorial shows you how to add a tree point feature to a terrain and then add it as a feature layer. A companion tutorial explains how to extract the feature and map it to a SpeedTree model. (For that portion of the tutorial, please see “Extracting a Point Feature as a Prop (Adding a SpeedTree)“ on page 522.) The process for adding a building or some other object would be similar.
The general process is as follows:
- Create a new GDB terrain in the TDB Tool or open an existing terrain (Create a New GDB Terrain in the TDB Tool).
- Add point features in the locations where you want them (Add a Point Feature to the Terrain).
- Save the GDB file.
- In Modeler, add the GDB file as a feature layer (Add the GDB Terrain to 3D Network Visualizer as a Feature Layer).
Create a New GDB Terrain in the TDB Tool
This step of the tutorial minimally describes the process for creating a new terrain in the TDB Tool. This tutorial uses the Little Pond terrain.
Procedure 204: Creating a Little Pond GDB File and Adding Feature Data
-
Start the TDB Tool. (In a command window, enter
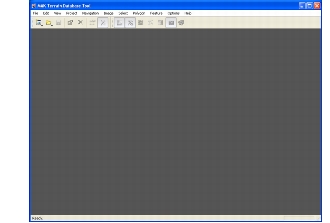
C:\Program Files\OPNET\3DNV\3.2.0\3d_visualizer\tools\tdbtool\bin\tdbTool.exeand press <Enter>.) The TDB Tool opens (Figure 201).Figure 201: TDB Tool window
-
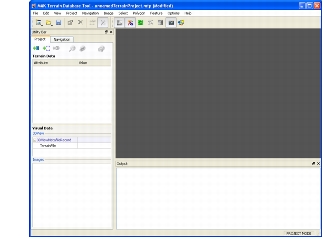
Choose File > New > Terrain Project. The Utility Bar is added to the window (Figure 202).
Figure 202: New project
-
Choose Project > Add Data From File. The Add Data dialog box opens.
-
Navigate to
./data/terrain/LittlePond/Elevationand choosew072n042.dt1. -
Click Open. The data is added to the project. By default, the TDB Tool sets the projection for DTED files to UTM. However, the default for DTED in 3D Network Visualizer is Flat Earth, so you must change the projection.
-
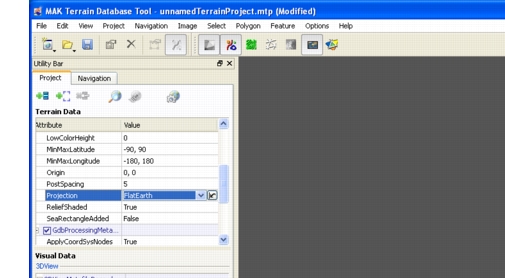
In the Terrain Data panel on the Project tab, scroll through the Attribute list until you see the Projection attribute.
-
Click on the value (UTM). The value becomes editable (as a list).
-
In the list, select FlatEarth (Figure 203).
Figure 203: Change the projection to FlatEarth
-
Choose Project > Build Terrain. The Build Terrain dialog box opens.
-
Type a name for your project, such as
myLittlePondFeatures. -
Click Save. The terrain is built and the TDB Tool asks you if you want to open the
myLittlePondFeature.mtdandmyLittlePondFeatures.gdbfiles. -
Click Yes.
-
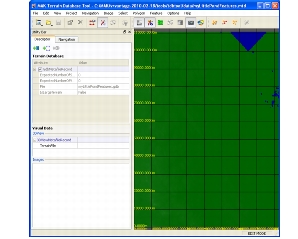
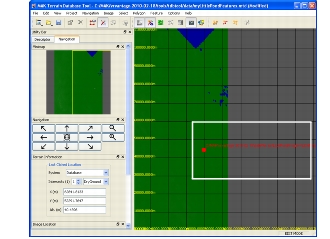
Optionally, save the project when prompted. The terrain is displayed (Figure 204).
Figure 204: New terrain
Add a Point Feature to the Terrain
This step of the tutorial minimally describes the process for adding point features in the TDB Tool. It uses the terrain created in the previous section.
Procedure 205: Adding a Point Feature to the Terrain
-
On the Descriptor tab of the Utility bar, click Add Data. The Add Image Data dialog box opens.
-
Navigate to
./data/terrain/LittlePond/Imageryand chooseLittlePond.tif. -
Click Open. The image is added to the terrain (Figure 205). Its purpose is to give us an easily identified location on which to place our point features.
Figure 205: Terrain with image added
-
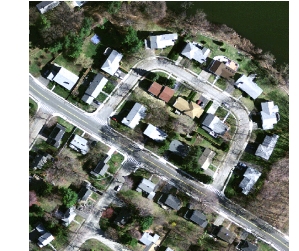
Use the controls on the Navigation tab to zoom in on the image. Get close enough to see the roads easily, as in (Figure 206).
Figure 206: Zoomed-in view of image
-
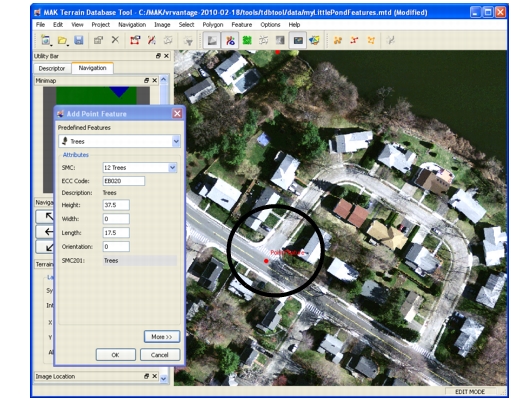
Choose Feature > Add Point Feature. The cursor changes to a point and the Add Point Feature dialog box opens (Figure 207).
Figure 207: Add Point Feature dialog box and new point
-
In the Predefined Features List, select Trees.
-
Click on the image in a place where your feature will be obvious, such as in the middle of the road (Figure 207).
-
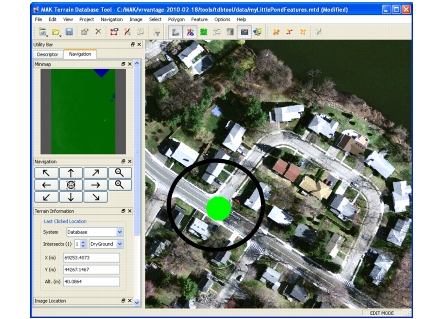
Click OK. The feature is added to the terrain (Figure 208).
Figure 208: Point feature added
-
Choose File > Save.
-
Close the TDB Tool.
Add the GDB Terrain to 3D Network Visualizer as a Feature Layer
In this step, we take the GDB terrain that we created in the previous steps and add it as a feature layer in 3D Network Visualizer.
Procedure 206: Adding a Feature Layer
-
Start 3D Network Visualizer.
-
Open the
LittlePond.mtfterrain. -
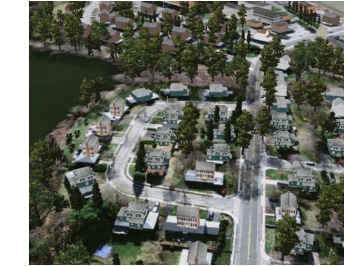
Orient your view of the terrain so that you are viewing the area in which you created the point feature in the GDB file (Figure 209). (If you open the Observer Views Panel and load the
LittlePond.osrxsaved views file, you can select the saved view and jump right to the inset.)Figure 209: 3D view of Little Pond
-
Select the Terrain Contents page.
-
Choose File > Add Feature Layer. The Select Source File for Feature Layer dialog box opens on top of the Feature Layer Settings dialog box.
-
Select the file
./userData/terrains/myLittlePondFeatures.gdb. -
Click Open. The file is added to the list of feature layers.
To complete the tutorial by extracting the new point feature as a prop, please see “Extracting a Point Feature as a Prop (Adding a SpeedTree)“ on page 522.