Collecting Configuration Files for DCI
This section describes the procedures for capturing the devices files to be imported with DCI.
Note: If there is no space between the device prompt and the show command, DCI only recognizes ">" or "#" prompts, that is, if the prompt is anything else, the command will not be read properly by DCI during import. However, if there are one or more spaces prior to the show command, DCI ignores the prompt and reads the output as expected.
Procedure 1: Creating Configuration Files for Cisco Devices (excluding Catalyst Switches)
-
Log in to the device for which you want to create a configuration file.
-
Enter the following command at the login prompt to disable pauses for page breaks in output:
terminal length 0.The command will not pause after a given number of lines or include "
--more--" in theshowcommand output. -
Create a new text file in any text editor. Make sure that text wrapping is not enabled.
-
Enter the following command at the prompt (and your password, if applicable):
enableThe command prompt changes to a number sign (#).
-
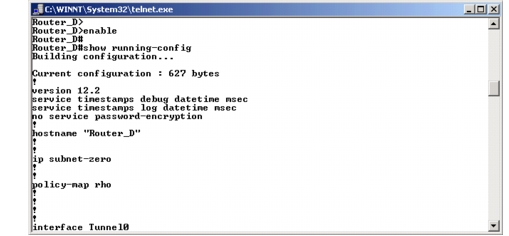
Enter the following command at the prompt:
show running-config -
Paste the output of the command in step 5. to the text file.
-
Repeat step 5. and step 6. for any additional required or optional commands. Refer to Table 2 in "Importing Topologies" for more information.
You should now have a text file that consists of the output of all commands. Make sure that the output from the
show running-configcommand appears before the output of any other commands. -
Save the text file. This is the configuration file that DCI needs to import information about the router.
-
Log out of the router.
Procedure 2: Creating Configuration Files for Cisco Catalyst Switches (Running CatOS)
-
Log in to the switch for which you want to create a configuration file.
-
Enter the following command at the login prompt to disable pauses for page breaks in output:
set length 0.The command will not pause after a given number of line or include "
--more--" in theshowcommand output. -
Create a new text file in any text editor. Make sure that text wrapping is not enabled.
-
Enter the following command at the prompt (and your password, if applicable):
enable"(enable)" appears in the command prompt.
-
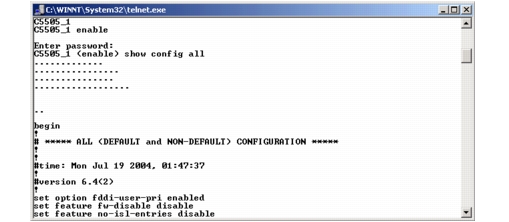
Enter the following command at the prompt:
show config all -
Paste the output of the command in step 5. to the text file.
Figure 1: Creating a Configuration File for a Cisco Switch
-
Repeat step 5. and step 6. for any additional required or optional commands. Refer to Table 2 in "Importing Topologies" for more information.
You should now have a text file that consists of the output of all commands. Make sure that the output from the
show config allcommand appears before the output of any other commands. -
Save the text file. This is the configuration file that DCI needs to import information about the router.
-
Log out of the switch.
Procedure 3: Creating Configuration Files for Juniper Routers
-
Log in to the router for which you want to create a configuration file.
-
Create a new text file in any text editor. Make sure that text wrapping is not enabled.
-
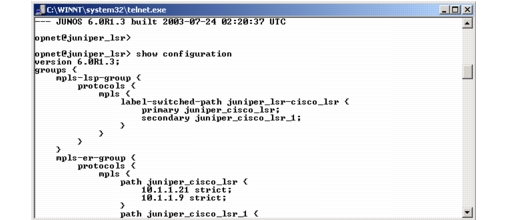
Enter the following command at the prompt:
show configuration -
Paste the output of the command in step 3. to the text file.
Figure 2: Creating a Configuration File for a Juniper Router
-
(Recommended) Enter the following command at the prompt:
show version -
Paste the output of the command in step 5. to the text file.
Note: See Table 2 in "Importing Topologies" for other optional commands you can use.
-
Save the text file. This is the configuration file that DCI needs to import information about the router.
-
Log out of the router.